by Brian Dusablon and Sarah Mercier
You can create accessible PDFs by first making your Word document accessible, then converting it to PDF in a way that maintains that accessibility. Follow these tips to simplify the process.
Make your Word document accessible.
Making a document accessible in Word first is much easier than trying to do it later in Adobe Acrobat. But, how do you make your document accessible?
Tag your headings.
Avoid using the "Title" style in Word. H1 is your title, H2 is for your major headings, H3 is subheadings, and so forth. Simply format a heading as you'd like, highlight it, and then update the heading style in Word to create that style. Then, you can apply this style to text anywhere in your document using the styles menu.
Add alternative text (ALT text) to your images.
Right-click an image and select "edit alt text." If you're on the web browser version of Word, right-click and search for "alt" and it will give you the option. Alt text should be 1-2 sentences and around 125 characters. If you have a ChatGPT account, you can use the Accessibility Ally to help you write it.
Use simple tables formatted appropriately.
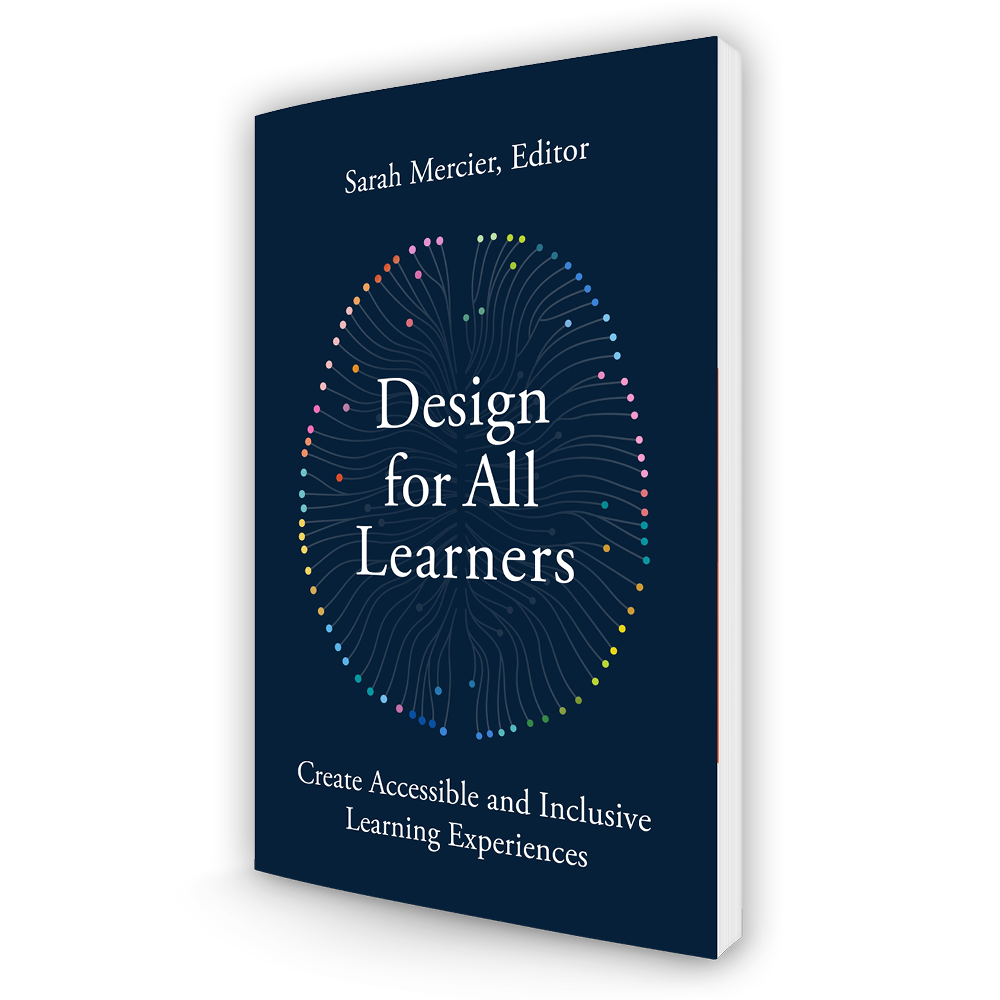
Ensure your tables have defined column and row headings. You may want to avoid using complex tables where there's no clear one-to-one connection between data cells and headers (using merged cell subheadings, for example). As Yvonne Urra-Bazain mentions in Chapter 27 of Design for All Learners: Create Accessible and Inclusive Learning Experiences, using headings and a bulleted list may be easier to understand and more effective than a complex table.
Use lists with the appropriate style.
Bullets represent unordered lists and numbers indicate ordered lists. Selecting the appropriate style for your list is helpful so that the reader understands the intended hierarchy, if any.
Use an appropriate PDF conversion method.
There's a right way and a wrong way to retain all the accessibility you've just created in Word. Using the wrong method will discard many of your accessibility settings, forcing you to manually reset them during accessibility checks in Acrobat.
- Do not use "Save as Adobe PDF" from the sidebar.
- Do not use "Export to Adobe PDF."
- Never use "Print to PDF."
Instead, choose one of the following workflow options to create an accessible PDF from an accessible Word document.
Option 1: Export directly from Word with the correct settings.
- Create your Word document with accessible content.
- Select "Save a Copy" from the left sidebar.
- In the dropdown menu, select "PDF."
- Select "More options."
- In the options dialog:
- Add a document Title.
- Select "Options."
- Ensure accessibility options are enabled.
- Open the exported PDF in Acrobat and run an accessibility check to verify everything transferred correctly. The steps for running an accessibility check are at the end of this article.
Option 2: Create the accessible PDF from an accessible Word document in Acrobat.
- Create your Word document with accessible content.
- Save it.
- Open Adobe Acrobat and create a PDF. Select your Word document.
- Save the newly-created PDF.
- Run an accessibility check to verify everything transferred correctly.
How to run an accessibility check in Adobe Acrobat
- Navigate to "All tools" > "Prepare for accessibility."
- Select "Check for accessibility" and select the "Start Checking" button.
We hope this article has been helpful. You'll find more examples in Design for All Learners. Pick up your own copy today!

Design for All Learners: Create Accessible and Inclusive Learning Experiences
Order a copy wherever you choose to buy books.